It is possible to paint copper pipes, but it is important to use the correct paint and the right methods to ensure decent results. This includes using primers and paints that bond well with the piping and allowing the paint to dry completely between coats. You will also need to ensure that the pipes are left alone for a while before the plumbing is used.
Why paint copper pipes?
Painting copper pipe can be really helpful when it comes to colour-coding. This can make repairs easier. Painted pipes may also fit in better with your interior design, but you should do it with caution. This is because it could lead to problems further down the line.
You could paint joints and junctions together, damaging the pipe, and you could face bigger bills from plumbers having to deal with painted pipes. To help ensure you’re not overcharged for plumbing repairs, always use respected tradesmen such as those featured on the Association of Plumbing and Heating Contractors website here:
The paint itself can also cause damage if the copper isn’t properly cleaned and prepared. A lack of preparation can also lead to surface impurities such as chemicals, lubricants, and oxides preventing your paint from sticking to your pipes.
How to paint a copper pipe
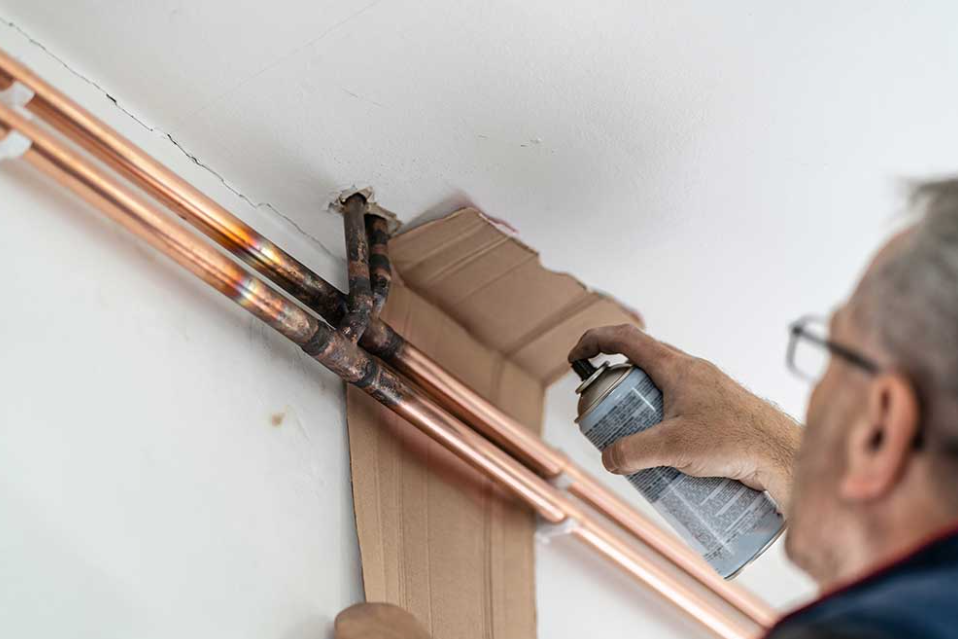
Protect surfaces and tape off any parts of the copper pipe you don’t want to paint, including junctions and joints. Then, use abrasive copper pads, a wire brush or fine-grit sandpaper to clean the pipe.
Next, prime using a heat-resistant primer and wait for this to dry fully before thinly applying one coat of appropriate metal paint. Wait for this to dry and then continue layering until you get the desired finish, making sure every coat is dry before putting on the next.
Top tips
The following are top tips for making sure you get the best results. Always use metal paint and never use non-heat-resistant paint which may release toxic fumes as the heat increases. Also, try to paint when you don’t need to use the pipes, such as during warmer weather.


